Projection work gets judged on the pixels. The pixels are usually fine. The thing that actually makes or breaks a mapped sculpture, facade, or stage set is the surface itself - the material, the finish, the paint, the seams. Fabrication teams who understand projection deliver surfaces that the projectors can hit cleanly. Fabrication teams who don't deliver surfaces that fight the show.
Matte, matte, matte
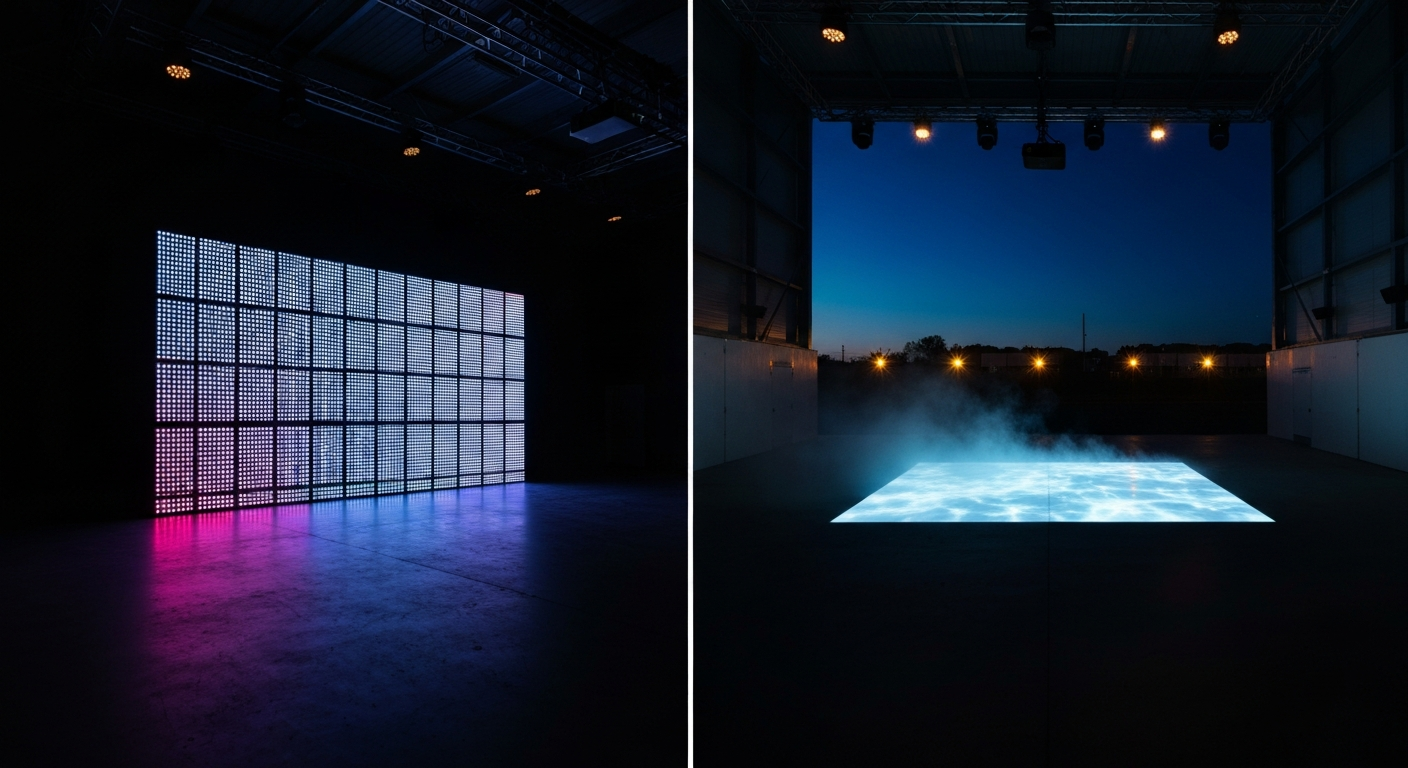
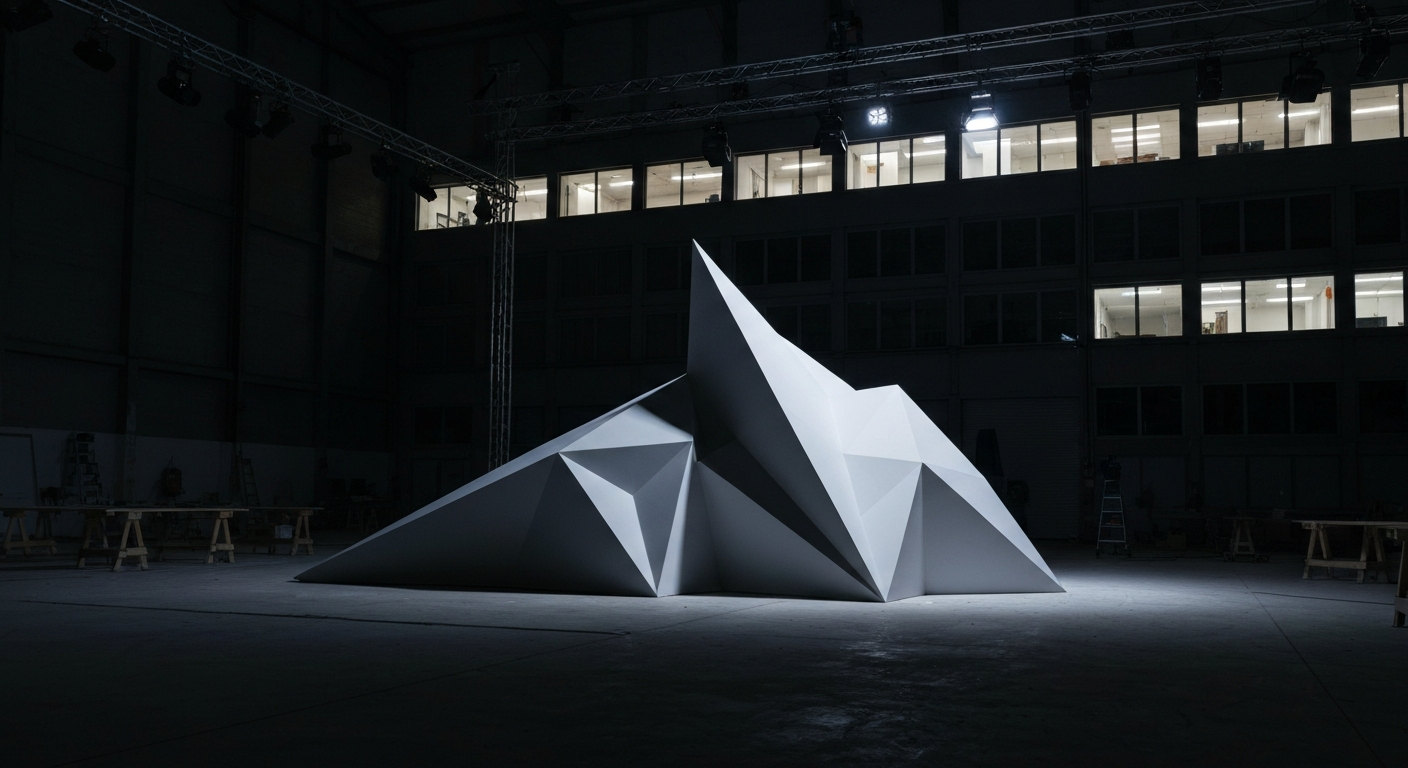
The single most common failure mode in projection-bound fabrication is a glossy finish. Gloss reflects the projected light specularly - meaning light bounces off in a narrow angle rather than scattering diffusely - which means a viewer standing anywhere except the perfect mirror-angle sees either a dim, contrasty image or a hotspot that ruins the shot.
Matte finish is non-negotiable for projection surfaces. This means matte paint (flat or eggshell at the most, never satin or semi-gloss), dulled metal, untreated raw fabric rather than glossy vinyl, and no chrome or polished hardware anywhere in the projection throw. A skilled projection team can salvage a semi-gloss surface with careful angle choice; they cannot salvage a chrome one.
Color matters more than people expect
A projection surface should ideally be white or very light grey. Any color in the substrate subtracts from the color fidelity of the projection - a red wall projected with green content reads as muddy brown, not green. Where branding or aesthetic requires a colored surface, budget extra lumens and test in advance with representative content. Dark walls eat projection alive.
A useful trick: grey surfaces (around 30 percent reflectance) can actually outperform pure white in rooms with significant ambient light, because the grey substrate raises the black point less than the white does, increasing contrast. For outdoor work or lit interiors, grey is often the right answer.
Plan the seams
Fabricated surfaces have seams - panel joints, welds, hardware, transitions. Every seam is a potential break in the image. Projection teams can often hide seams by routing blend zones across them, but only if the fabrication team knows where the projectors are going to be aimed from.
The workflow that produces clean results: fab team shares surface CAD with projection team; projection team calculates projector positions and blend zones; both teams sign off on seam placement together before cutting starts. This meeting is the difference between a show where the seams vanish and a show where every seam is visible from row 3.
Tolerances that projection cares about
- Flatness tolerance across a projected panel: less than 3 millimeters deviation over a meter. Ripples show up immediately.
- Seam gap tolerance: less than 2 millimeters. Visible gaps become visible black lines when the projection plays.
- Color uniformity: test the finish under white projected light before final install. Off-white substrates will be exposed.
- UV resistance: outdoor mapping surfaces need to hold their color for the duration of the install or longer.
The surface is 40 percent of the show. The projector is 40 percent. The content is the remaining 20, and it loses to either of the other two if they're wrong.
The trades worth making
Fabricators who build for projection don't need to become projection engineers. They need to know three things: finish flat and matte, coordinate seams with projection early, and never let anyone talk them into a glossy substrate because it "looks nice under gallery lights." Gallery lighting isn't what hits the surface during the show. Projectors are. Build for the lighting you're actually getting.